Bài viết này sẽ được cập nhật những bộ icons đẹp thay thế cho bộ icons gốc của Windows 10. Nếu bạn là người luôn thích sự mới mẻ bạn sẽ không thể bỏ qua bài viết này.

Hướng dẫn thay thế Icons hê thống
Lưu ý file này chỉ áp dụng cho Win 10 64 bit không phân biệt verson hay build mấy nghĩa là win 10 build 10240, build 10586 hay 14393 đều dùng được
Bước 1: Tải TakeOwnership về máy giải nén chạy file InstallTakeOwnership hộp thoại UAC cảnh báo bấm Yes xác nhận, bấm Yes và Ok lần nữa xác nhận thêm vào registry.
Bước 2: Truy cập đường dẫn C:\Windows\System32 tìm file có tên "imageres.dll" chuột phải file đó chọn Take Owership xong đổi tên thành "imageres.dll.res" bấm Ok hoặc Yes xác nhận.
Bước 3: Copy file "imageres.dll" trong thư mục System32 tải về vào đường dẫn C:\Windows\System32 bấm Continue xác nhận
Bước 4: Làm tương tự với file imageres.dll trong thư mục SysWOW64 tải về thay thế cho file imageres.dll trong đường dẫn C:\Windows\SysWOW64
Bước 5: Chuột phải file "Reload Icons Cache" chọn Run as Administator trong hộp thoại command prompt nhấn Enter, Y, Enter khởi động lại máy áp dụng
Nếu muốn restore lại icons gốc làm tương tự các bước trên ví dụ Take Owership file "mageres.dll" trước trong đường dẫn C:\Windows\System32 sau đó đổi tên thành "imageres.dll.res1", đổi tên xong thì đổi tên file "imageres.dll.res" cũ thành "imageres.dll". Làm tương tự trong thư mục SysWOW64 theo đường dẫn C:\Windows. Cuối cùng chạy lại file "Reload Icons Cache" chọn Run as Administator trong hộp thoại command prompt nhấn Enter, Y, Enter khởi động lại máy áp dụng.
1. macOS
Icons hệ thống
 |
| File Explorer |
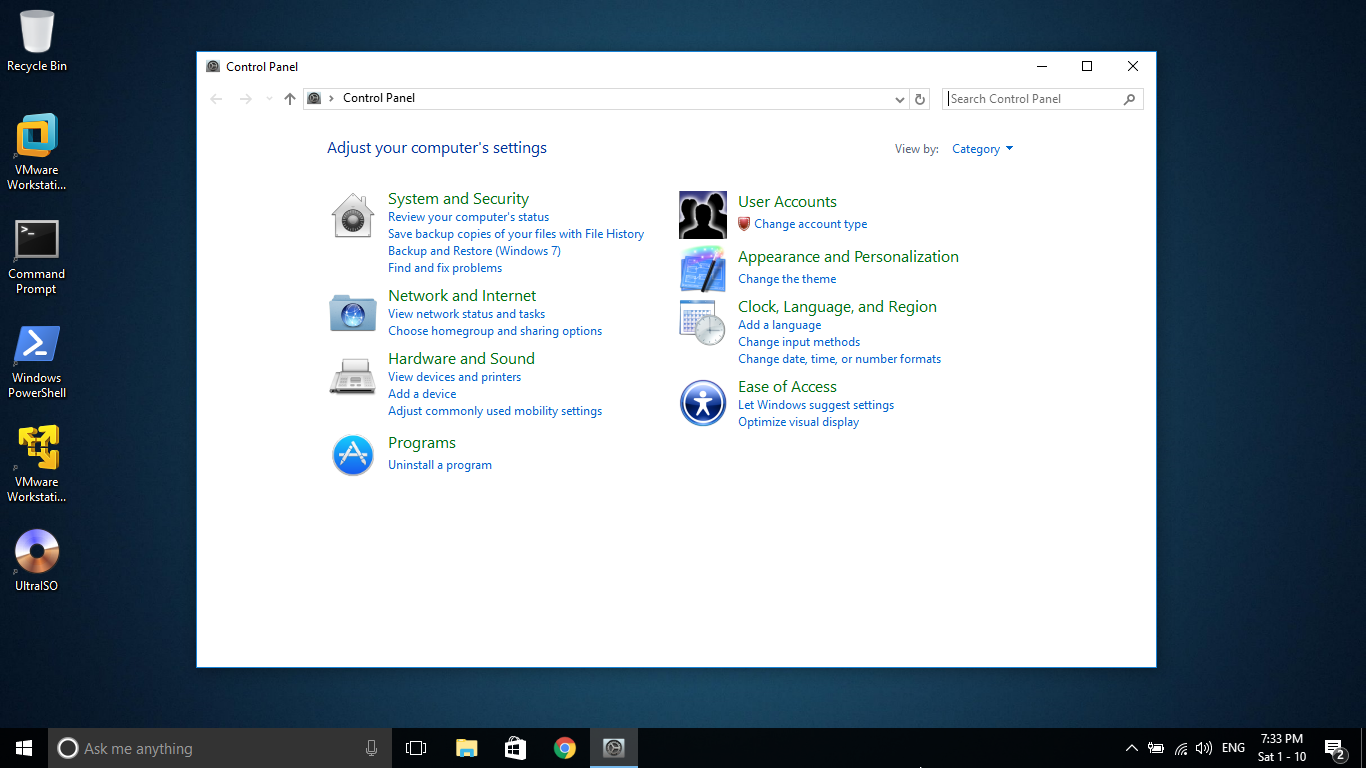 |
| Control Panel |
 |
| Folder |
Icons gốc:
 |
| Apps |
 |
| Folder |
2. iOS
Icons hệ thống
 |
| File Explorer |
 |
| Control Panel |
 |
| Desktop |

3. Jarvis
Icon hệ thống
 |
| File Explorer |
 |
| Control Panel |
Icon hệ thống

5. Alienblue
Icon hệ thống
 |
| Libraries |
 |
| Control Panel |

- Hướng dẫn cài đặt thanh dock có giao diện gần giống với Mac OS Yosemite trên Windows
- Cách ghim ứng dụng Metro vào thanh RocketDock
Một số ứng dụng tôi đã làm sẵn bên dưới:
Name:
Target: C:\Windows\Explorer.exe
Start in: C:\Windows
Arguments:
Cortana: shell:AppsFolder\Microsoft.Windows.Cortana_cw5n1h2txyewy!CortanaUI
Microsoft Edge: shell:AppsFolder\microsoft.MicrosoftEdge_8wekyb3d8bbwe!MicrosoftEdge
Mail: shell:AppsFolder\microsoft.windowscommunicationsapps_8wekyb3d8bbwe!microsoft.windowslive.mail
People: shell:AppsFolder\Microsoft.People_8wekyb3d8bbwe!x4c7a3b7dy2188y46d4ya362y19ac5a5805e5x
Calendar: shell:AppsFolder\microsoft.windowscommunicationsapps_8wekyb3d8bbwe!microsoft.windowslive.calendar
Sticky Notes: shell:AppsFolder\Microsoft.MicrosoftStickyNotes_8wekyb3d8bbwe!App
Maps: shell:AppsFolder\microsoft.windowsmaps_8wekyb3d8bbwe!app
Photos: shell:AppsFolder\microsoft.windows.photos_8wekyb3d8bbwe!app
Camera: shell:AppsFolder\microsoft.windowscamera_8wekyb3d8bbwe!app
Messaging: shell:AppsFolder\Microsoft.Messaging_8wekyb3d8bbwe!x27e26f40ye031y48a6yb130yd1f20388991ax
Store: shell:AppsFolder\Microsoft.WindowsStore_8wekyb3d8bbwe!App
Settings: shell:AppsFolder\windows.immersivecontrolpanel_cw5n1h2txyewy!microsoft.windows.immersivecontrolpanel
Tiếp tục cập nhật...
Icons builder bởi Nguyễn Anh Tuấn
Facebook: https://www.facebook.com/kequaduongvodanh


